Having a faucet aerator installed is a great idea. It can make your water flow more efficient, clean and can even save you money. But these devices weren’t meant to last forever. And when you have a broken or dirty faucet aerator, it can be problematic.
And faucet aerators can become dirty after just one year. So it’s important to know how to fix your faucet aerator if its broken or becomes too dirty. In the following article, we are going to be covering the topic of faucet aerators and will provide a guide on how to fix a faucet aerator that is stuck.
What is a Faucet Aerator?
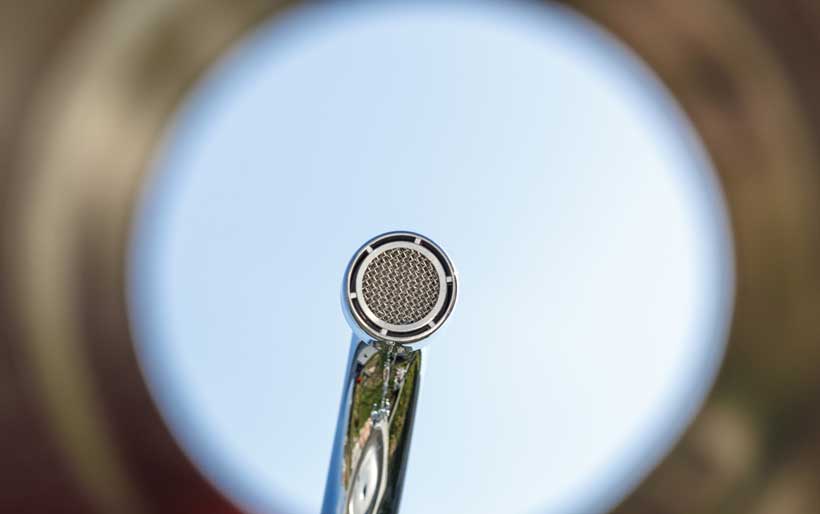
But before we can run, we have to learn how to crawl. What is a faucet aerator anyway? A faucet aerator is pretty much exactly what it sounds like. A faucet aerator is a small device that screws onto your faucet tap. It is usually made of metal or plastic and typically includes a rubber washer and a mesh screen.
The purpose of a faucet aerator is to introduce a minute stream of air into the water that passes through your faucet. The reason this is advantageous is because that added air can stabilize the stream of water that comes out of your faucet.
A stabler stream means less water lost to splashing. This also helps with cleanup – less splashing means you won’t have to wipe down your counter, floors or basin quite so much. And of course, the cleaner and more efficient water flow means you will not waste so much water – leading to more savings on your utility bills.
Even if you have never installed a faucet aerator yourself, you probably still have one or more in your kitchen and bathroom faucets. That’s because they more or less became standard for new kitchen construction in the 50’s and 60’s.
What Can Happen to a Faucet Aerator?
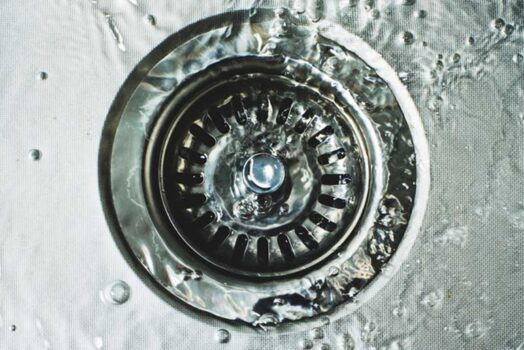
With such a simple design, you may be wondering what can go wrong with faucet aerators. There are a couple of things that can happen to a faucet aerator that will hinder it’s performance. The first thing and most common problem, is that they can get dirty and clogged.
One of the purposes (although not the main purpose) of a faucet aerator is to filter out some of the sediment and mineral content in your tap water. This sediment can come from the pipes or from hard water.
In any case, this sediment and mineral deposit gets caught by the mesh screen of the faucet aerator and over time, there can be enough mineral buildup and sediment to clog the aerator – making it difficult or impossible for it to introduce air bubbles into the faucet water.
Another thing that can happen that also usually caused by mineral and sediment buildup is that the faucet aerator can become stuck to the faucet. It’s recommended that you clean your faucet aerator regularly but when you haven’t done so for too long, the device can become stuck to the tap spigot.
Signs of Faucet Aerator Failure
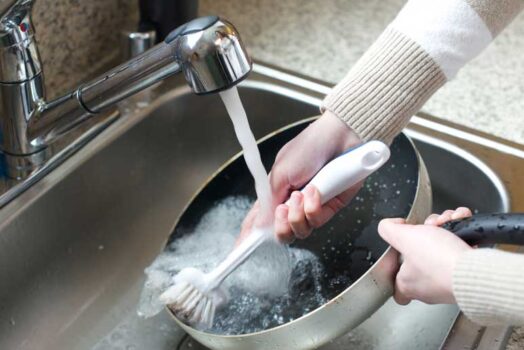
Before we get into how to fix your faucet aerator you should be aware of some tell-tale signs that yours needs some maintenance. One of the most common symptoms of a failing or dirty faucet aerator is low water flow.
The job of your faucet aerator is to restrict water flow to some degree. But if you are noticing that the tap flow has been reduced to a meager trickle, it is most likely time to clean or replace your faucet aerator.
Another sign of faucet aerator failure is if you are noticing that water is leaking out of the sides of your faucet. When the faucet aerator screen has become so clogged up with sediment and mineral deposits, the water can be forced out of the sides of the aerator because it has nowhere else to go.
If you drink or filter your tap water and are noticing that it is not tasting as clean as usual, this is also a sign that you should take a look at your faucet aerator. The mineral deposits can impart a strong or unpleasant flavor to your drinking water.
And finally, in general you are going to want to replace your faucet aerator every year. For the most part, faucet aerators are only designed to last for about 12 months so if yours is older than a year, it’s time to think about replacing or at least cleaning it.
Fixing A Faucet Aerator that is Stuck
There are actually multiple methods you can utilize if your faucet aerator is stuck to the spout. Here are a few of the most effective:
The Rubber Wrench Method:
Using a rubber wrench to unscrew a stuck faucet aerator is better than using tongue and groove pliers or traditional metal wrenches because they allow for better grip. And there will likely be some backed up water in your faucet so rubber wrenches can be very effective even under challenging circumstances.
The WD-40 Method:
WD-40 lubricant can also be helpful if your faucet aerator is stuck. Simply spray a generous amount of WD-40 directly on the faucet aerator, aiming for the seem between it and your actual faucet. This will help loosen up the threading that has become stuck over time.
The Vinegar Method:
Vinegar can help break down some of the sediment and mineral deposits that have built up in your faucet aerator. Try filling a small Ziploc with white vinegar and securing it to the end of your faucet with a rubber band or zip ties. The faucet aerator should be fully submerged in the vinegar. Let it soak like this for 3-5 hours. The vinegar should break down the mineral buildup and make it easier to unscrew the faucet aerator.
What to do if your Faucet Aerator is Dirty
Once you are able to get the stuck faucet aerator off the spout, take a close look at it. If the rubber washer, threading and mesh screen are still in tact, the problem is probably that it’s dirty. You may see some small, white rock-looking things caught in the mesh o in the threading.
This means that your faucet aerator was performing poorly because it’s dirty. To clean your faucet aerator, break out the white vinegar again. In a small dish, pour some white vinegar and place the faucet aerator in it. Again, make sure the faucet aerator is completely submerged.
If you can, take the faucet aerator apart so the vinegar can penetrate each part. Let the faucet aerator soak for at least a couple of hours. After it has soaked for an ample amount of time rinse it thoroughly with clean water.
The mesh screen ad threading should be clear of any blockages. Then, you can reassemble it and screw it back on to your faucet.
Parting Advice
Of course, if you get the faucet aerator off and see that the washer is broken, the mesh is torn or the threading has become corroded, there’s not much you can do. In this situation, you will simply have to replace it.
The good news is that faucet aerators are readily available at hardware stores and they aren’t expensive. So keep an eye on your faucet and be proactive to keep your drinking water fresh, your water bill down and your kitchen fully functional.